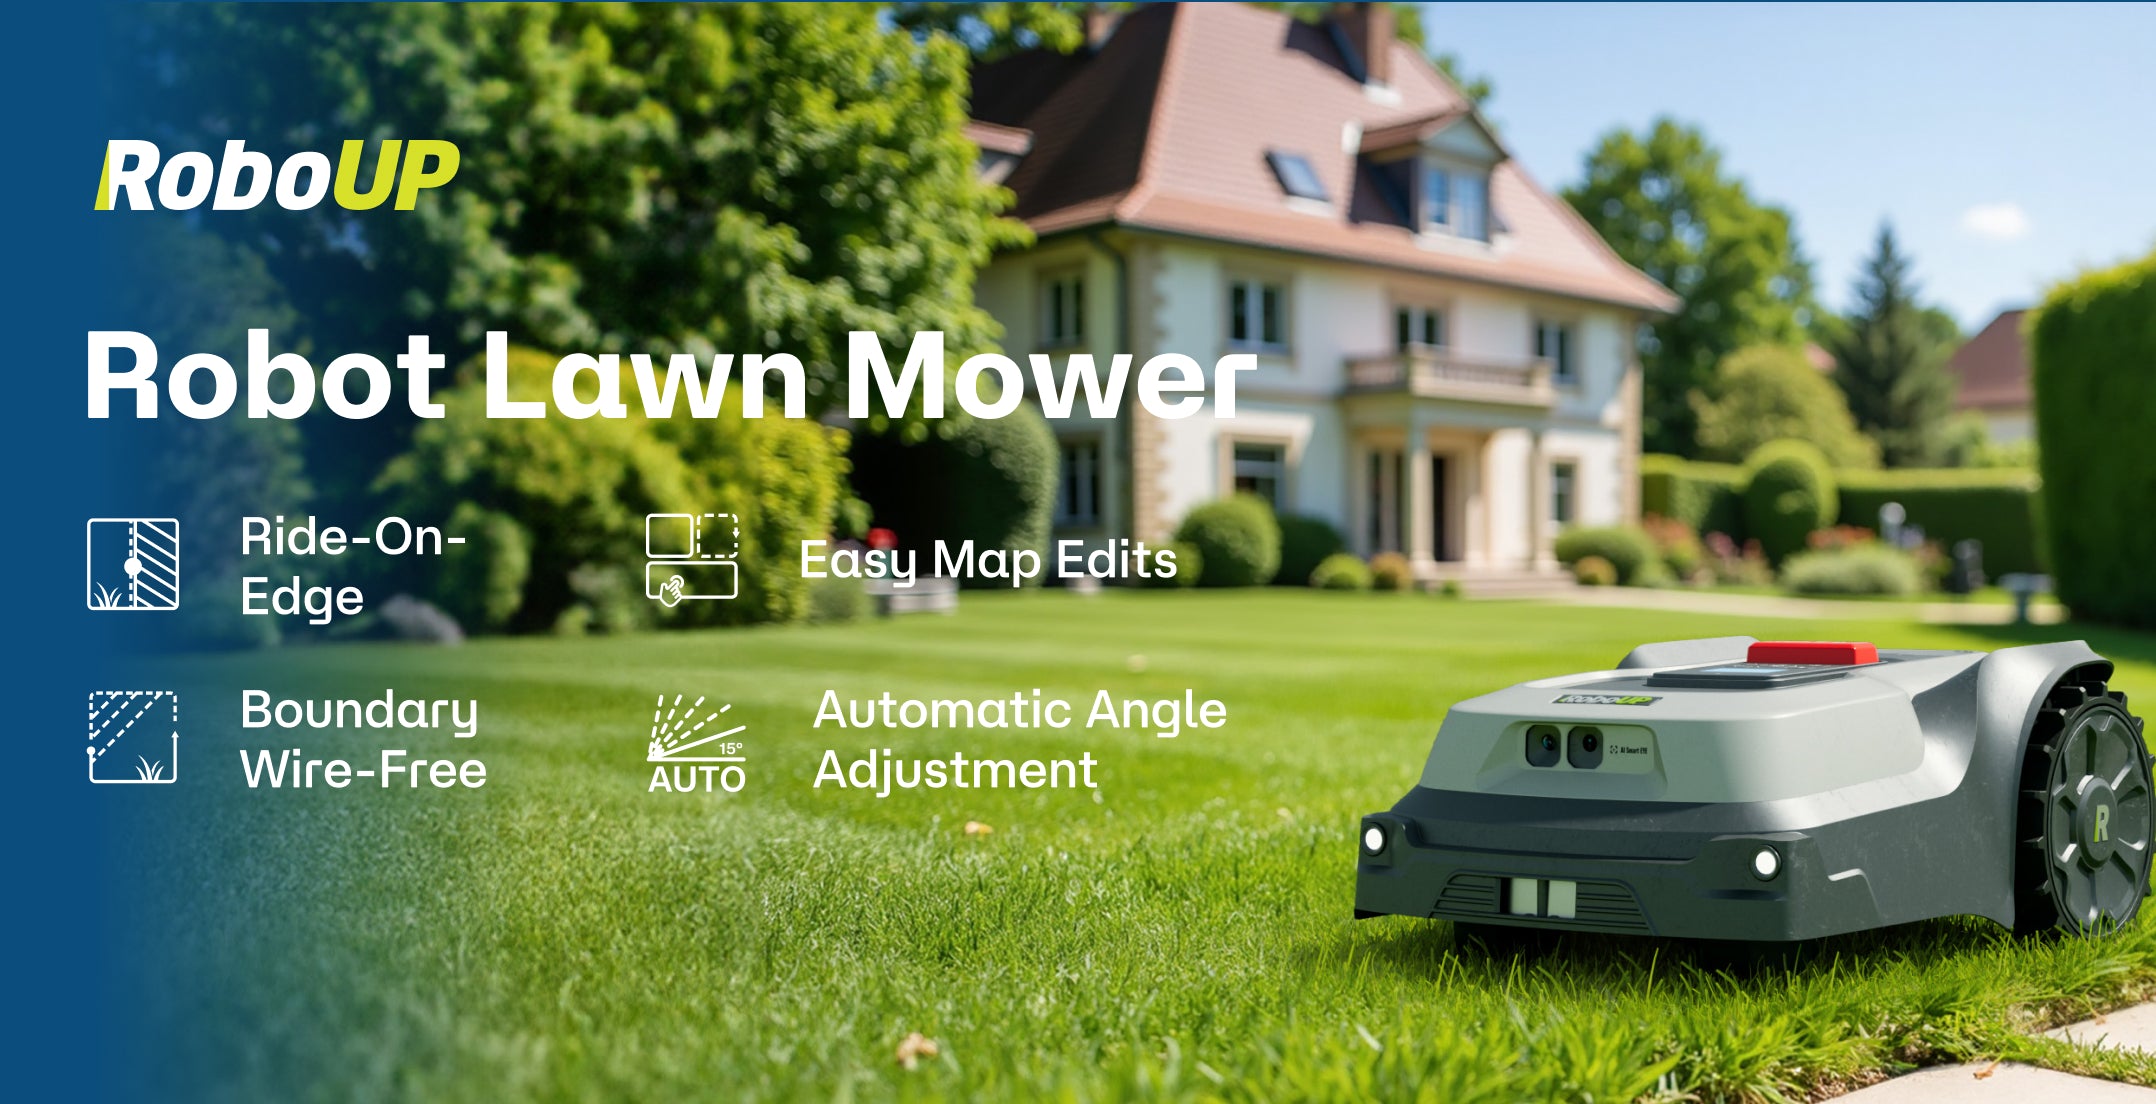
From Unboxing to Maintenance: Your Complete RoboUP Robot Lawn Mower Guide

Introduction: Why You Need This Guide
Just received your RoboUP robot lawn mower and can’t wait to see it in action? Hold tight! This article will guide you through unboxing, assembly, setup, and maintenance, so you can get started quickly and get the most out of your smart mowing experience.
Whether you're a first-time user or looking to optimize your lawn care routine, this guide will help you every step of the way.
1. Unboxing: What’s in the Box?
When you open the box, you’ll find:
- RoboUP main unit (with blades pre-installed)
- Charging Station
- Power Supply and Extension Cable
- 9 Spare Cutting Blades & Screws
- Allen Key
- 6 Fixing Screws
- RTK Base Station
- Trident Ground Stake
- RTK Installation Poles
- 2 Spare QR Code Stickers
- User Manual and Quick Start Guide
Tip: Unbox on a flat surface to avoid losing small parts. Retain the original packaging for future transport. If anything is missing, contact RoboUP support at service@iroboup.com.

2. Assembly & Setup: Get Ready in 5 Simple Steps
💡 Recommended: Install on a sunny, dry day. Trim grass under 10 cm before setup for best initial results.
Step 1: Choose the Best Spot for the Charging Station
- Open area with strong GPS and Wi-Fi signals
- At least 2 meters from obstacles and 3 meters from buildings, walls, and trees
- Avoid placing in the middle of the lawn to prevent buried cable risks
Step 2: Install the Charging Station
- Secure the Charging Station using included screws
Step 3: Fix the RTK Station
- Install RTK Base Station in an open, elevated area (preferably higher than nearby obstacles) for better RTK signal
- Use the connection cable or 10 m extension as needed
Step 4: Download the App
- Scan the QR code to download the RoboUP App
- Register and log in after installation
- Connect your phone to the Wi-Fi network you want the mower to use
Step 5: Power on and Pair the Mower
- Press and hold the power button (3 sec), then enter PIN “0000”
- Enable Bluetooth and follow App instructions to pair
- Wait 10 minutes for satellite search; "RTK✓" will display when ready

3. Operation: Set up the Work Area & App Highlights
Set up the Work Area
- Preparation: Clear the lawn of people, pets, obstacles, and fix holes. Mark boundaries where needed.
- Map out the Boundary: Use Auto Mapping for simple zones or Manual Mapping for precision. You can switch modes anytime.
- Create No-Go Zones: The mower detects large objects, but it’s best to define No-Go Zones via the app.
- Create To-Go Zones: For stone paths (within 2 cm height difference), define them as To-Go Zones to help the mower cross efficiently.
- Create a Passage: For multi-zone lawns, create a 1 m wide path and define a Passage in the app.

App Highlights
- Schedule tasks
- Set No-Go Zones
- Monitor mower status and location
- Enable/disable rain sensor
- OTA firmware updates
- Ride-On-Edge
- Automatic Angle Adjustment
- Map Boundary Extension
Pro Tip: Use Edge Cutting Mode for clean borders. Adjust mowing frequency by season.

4. Maintenance: Keep It Running Like New
Weekly Maintenance
- Clean wheels and blade disc (no high-pressure water)
- Check and clean rain sensor and cameras
Monthly Maintenance
- Replace all 3 blades and screws every 1–2 months
- Inspect and clean bottom chassis and wheels
Rainy Weather
- Mower is IPX6 waterproof
- Use a shelter or cover for the Charging Station
- Disable rain detection via App if preferred
Winter Storage
- Power off, clean, and charge to full or at least 70%
- Store in a dry, frost-free place (preferably in original box)
- Recharge every 120 days to prevent over-discharge
Conclusion: Ready to Take Control of Your Lawn?
This guide, based on the official user manual, equips you to unbox, install, use, and maintain your RoboUP T1200 Pro mower confidently.
RoboUP is more than just a mower—it's your smart lawn assistant. For help, contact the RoboUP support team.

